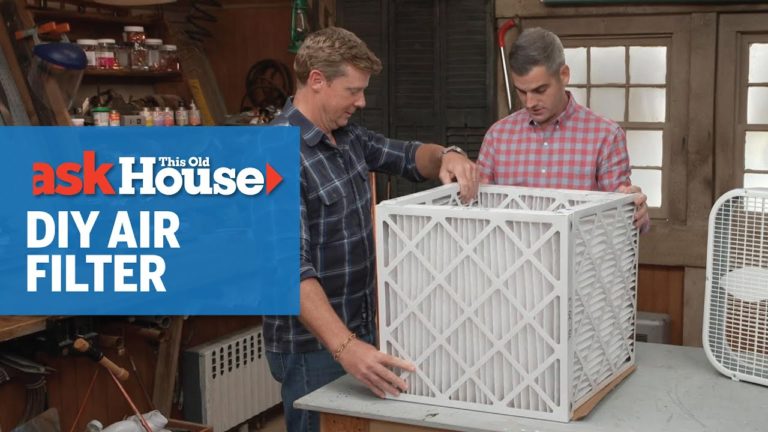
A quick and easy guide to build an air filter
In the past year a number of us most likely have pondered about air filtrations and how to build an air filter of our own. Thanks to Ross Trethewey, a home technology specialist, he has helped explains how air filtration systems function and how to create a do-it-yourself (DIY) localized air filter in the video above.
This simple and fast tutorial only takes about 20 minutes to complete, and all the tools we would need to build an air filter would be the following materials, which will run us about $150 but can give us security and comfort in times of natural disasters that can affect our air quality.
Materials:
20-inch box fan
Four 20x20x2 MERV-13 air filters
Duct tape
Cardboard cutout
MERV is an acronym for Minimal Efficiency Reporting Value, a value for determining the effectiveness of air filters and how well a filter prevents dust particles of various sizes from going through. The MERV rating ranges from 1-16, and the higher the value, the better the air filter is at trapping tiny particles.
In the video, Ross shows us how to build an air filter at home. We may create a localized air filter for any room in the household by duct taping four MERV-13 air filters to all four corners of a box fan. Here are the steps:
- To make the back, cut off a piece of cardboard the same size as the 20-inch box fan.
- Place the cardboard on a table, and arrange the four air filters along the cutout’s edges, with the airflow arrows pointing inwards.
- Secure each MERV filter to the fan with duct tape.
- Tape the cardboard backing using duct tape.
- Place the fan on the opposite side and duct tape it in place.
Easy peasy! Keep in mind that the filters will need to be replaced on a regular basis, about every six months according to the build from Ross’ DIY.